What you will need
- My Book Showroom active (see Guide 01: Quick Start if not done)
- A book title and author name
- A cover image (JPEG or PNG, at least 400 x 600 px recommended)
- At least one retailer URL for the buy button
Step 1 — Open the book editor
From the MBS dashboard click the Add Book tile in the action bar.

WordPress opens the book editor. You will see a Book Editor metabox with tabs across the top: Core Book Info, Book Details, Reader Links, Formats, and more.
You can also reach the book editor from My Book Showroom → Add New Book in the WordPress left sidebar.
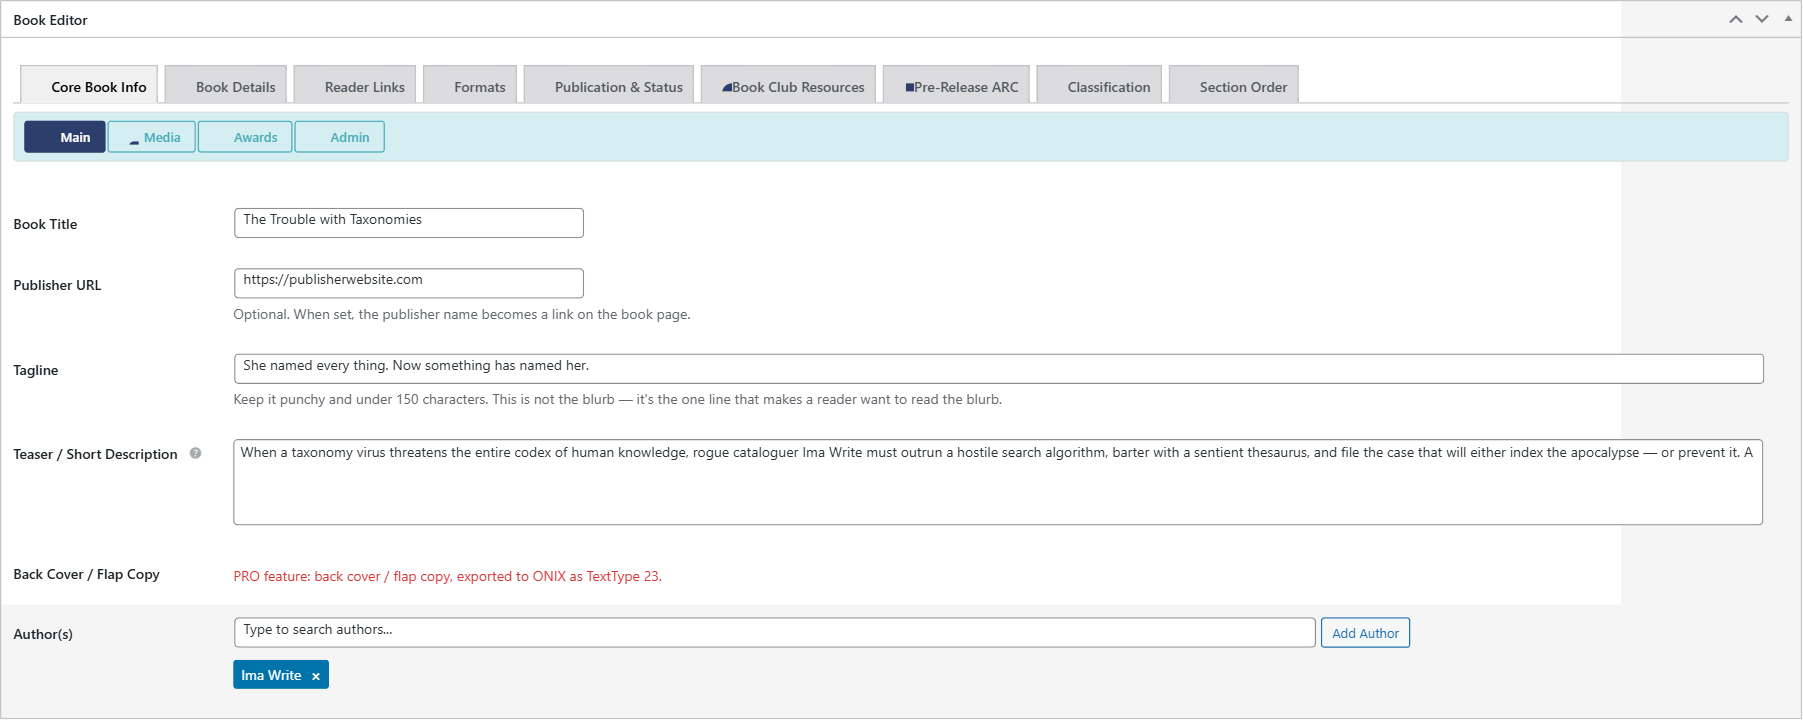
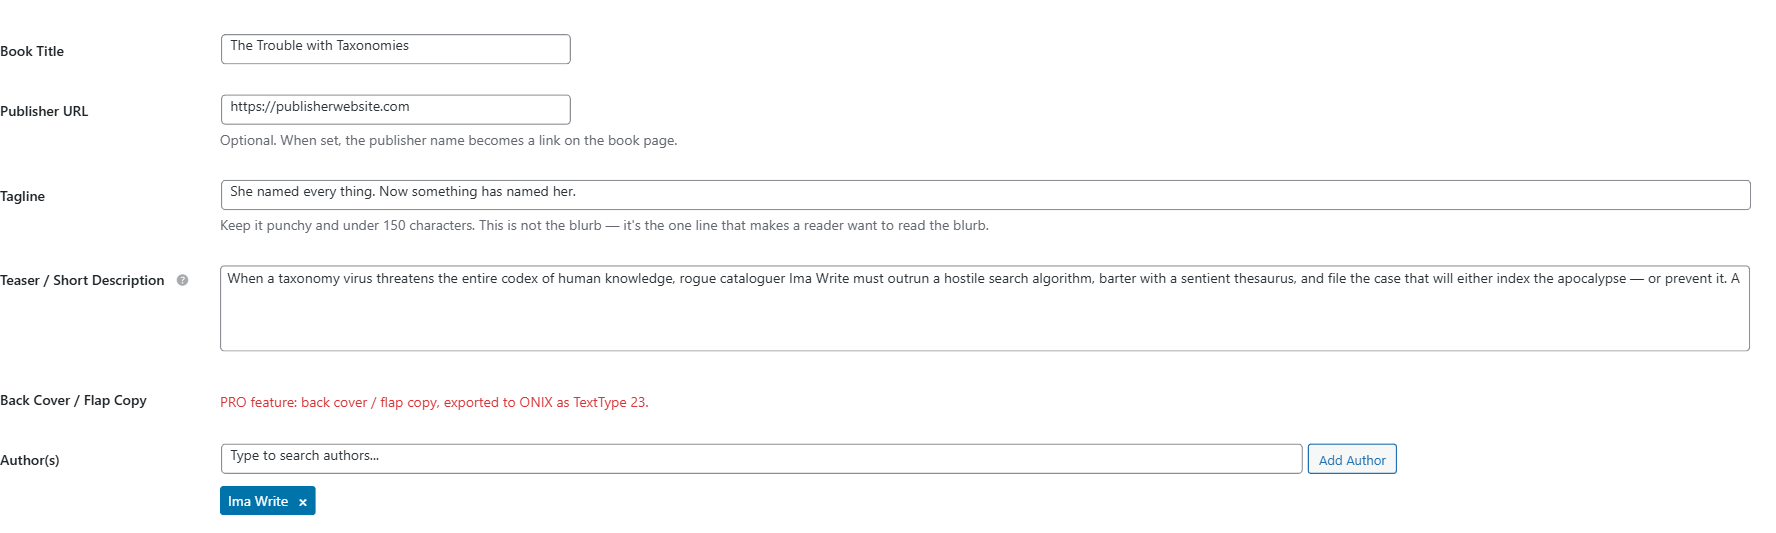
Step 2 — Enter the title
Click Enter title here at the very top of the page and type your book title.
The title becomes the book's public name on every showroom page and the individual book page.
Step 3 — Upload the cover image
The cover is stored as the WordPress Featured Image.
- In the right sidebar, click Set featured image in the Featured Image panel
- Upload your cover file or select one already in your Media Library
- Click Set featured image to confirm
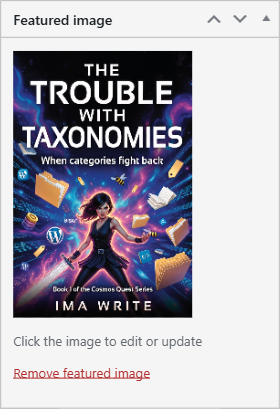
MBS uses the featured image as the cover in every layout — card grids, list views, the hero layout, and the individual book page.
Aim for a portrait image with a roughly 2:3 aspect ratio (for example 600 x 900 px). Landscape covers are supported but appear letterboxed in some layouts.
Step 4 — Write the blurb and tagline
On the Core Book Info tab you will find three description fields:
- Tagline — a one-sentence marketing hook, 150 characters or fewer.
Keep it punchy. This is not the blurb — it is the one line that makes a reader want to read the blurb.
- Teaser / Short Description — a short hook or teaser (a few
sentences). Used where a compact excerpt is needed.
- Back Cover / Flap Copy — the full back-cover blurb.
Paste your complete synopsis or back-cover copy here.
Step 5 — Assign the author
Still on the Core Book Info tab, scroll to the Author(s) field at the bottom of the section. Type the author name and click Add Author.
MBS uses a dedicated Author taxonomy, so every author automatically gets a public archive page listing all their books.
If you are the sole author of all your books, create your author term once here and MBS remembers it for every book you add after.
Step 6 — Add a format row and buy link
Click the Formats tab in the Book Editor. This is where you define each edition of the book and its purchase link.
Click Add Format Row, then fill in:
- Format — the edition type: eBook (EPUB), Paperback, Hardcover, Audiobook,
Board Book, Special Edition, and more (types are configurable in Settings → Formatting)
- Price — the retail price (leave blank for free or unlisted)
- Buy Link — click + Add Buy Link within the row and paste the full URL
to the book on Amazon, Kobo, Barnes & Noble, etc.
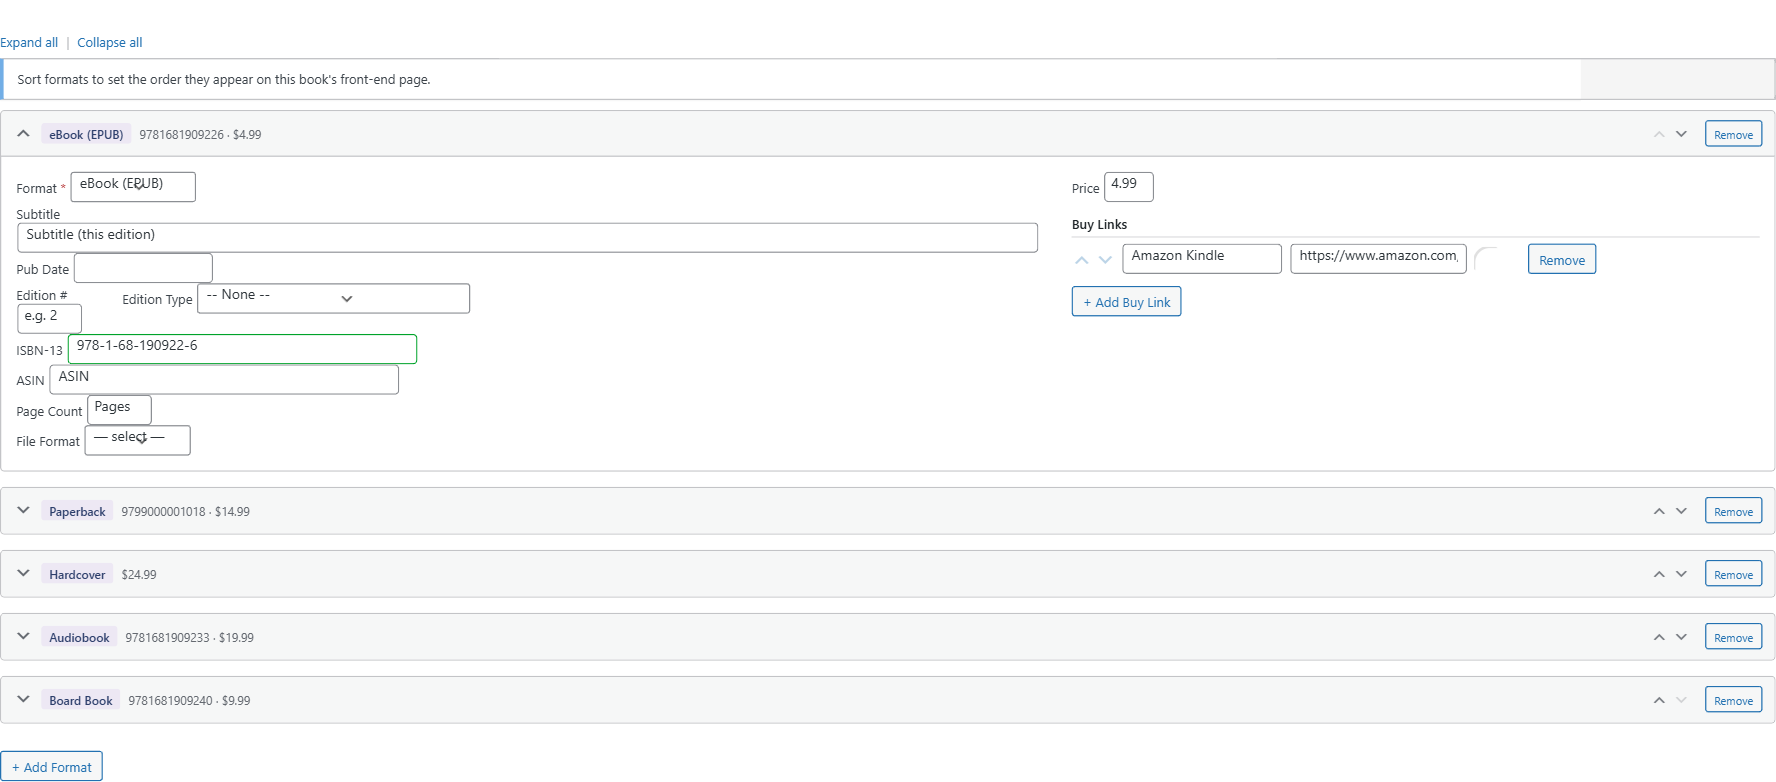
Add as many rows as you have editions. Use the sort controls on each row to reorder them. See Guide 04 for a full walkthrough of multi-edition setup.
Step 7 — Add genres and tags (optional)
Click the Book Details tab, then the Discovery sub-tab.
You will find three sections for classification:
- Genre — hierarchical (Fiction → Fantasy, Non-Fiction → History, etc.)
- Tags/Keywords — flat keywords for search and filtering in your showroom
- Themes — story types and tropes (Found Family, Enemies to Lovers, etc.)
None of these are required to publish, but they power the filter controls in your showroom shortcode.
Step 8 — Publish
Click Publish in the Publish panel (top right). The book is now live in your showroom.
To return to it later, go to My Book Showroom → All Books or click the Recently Edited list on the dashboard.