
What you will need
- A valid Publisher license key from dmrstech.com
- WordPress admin access on each site you want to activate
- Your existing Publisher or Imprint terms planned out (optional — you can
create them after activation)
Step 1 — Open the License tab
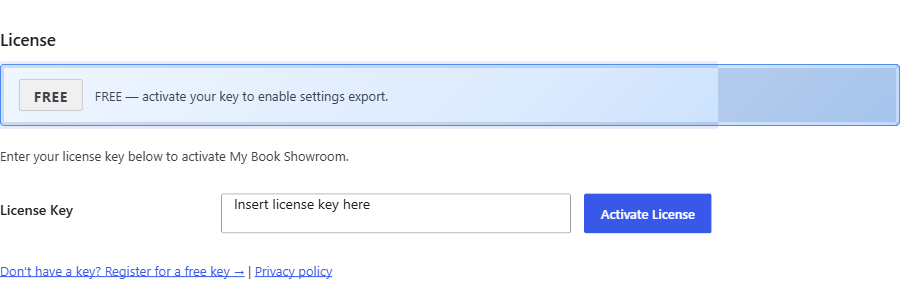
In your WordPress admin, go to My Book Showroom → Settings and click the License tab. You will see the license key input field and an Activate button.
Step 2 — Enter and activate your Publisher key
Paste your Publisher license key into the License Key field and click Activate. MBS contacts the dmrstech.com licensing API to validate the key.
When activation succeeds, the License tab refreshes and displays an Active – Publisher License badge beneath the key field.
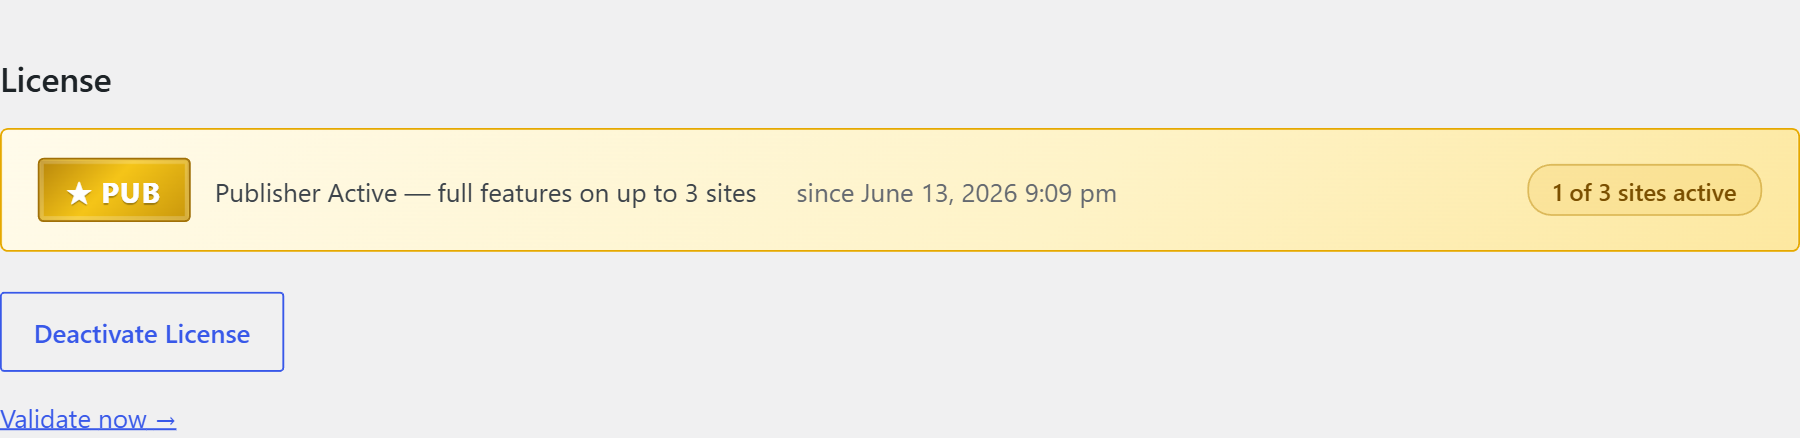
The activation flow is identical for FREE, PRO, and Publisher keys. The badge that appears after activation indicates which tier is running.
Step 3 — Confirm what Publisher unlocks
After activation, the following capabilities become available on this site:
- ONIX export/import — the ONIX tab appears in Settings
- Contributors metabox → Statement field — a per-assignment biographical
statement field appears on every contributor row
- Unlimited ARC reviewers — the 25-reviewer cap enforced on PRO is removed
- Publisher & Imprint assignment — the Publisher & Imprint metabox appears
on each book editor screen
- Multi-site activation — this same key can be activated on up to 3
WordPress sites
Step 4 — Create Publisher terms
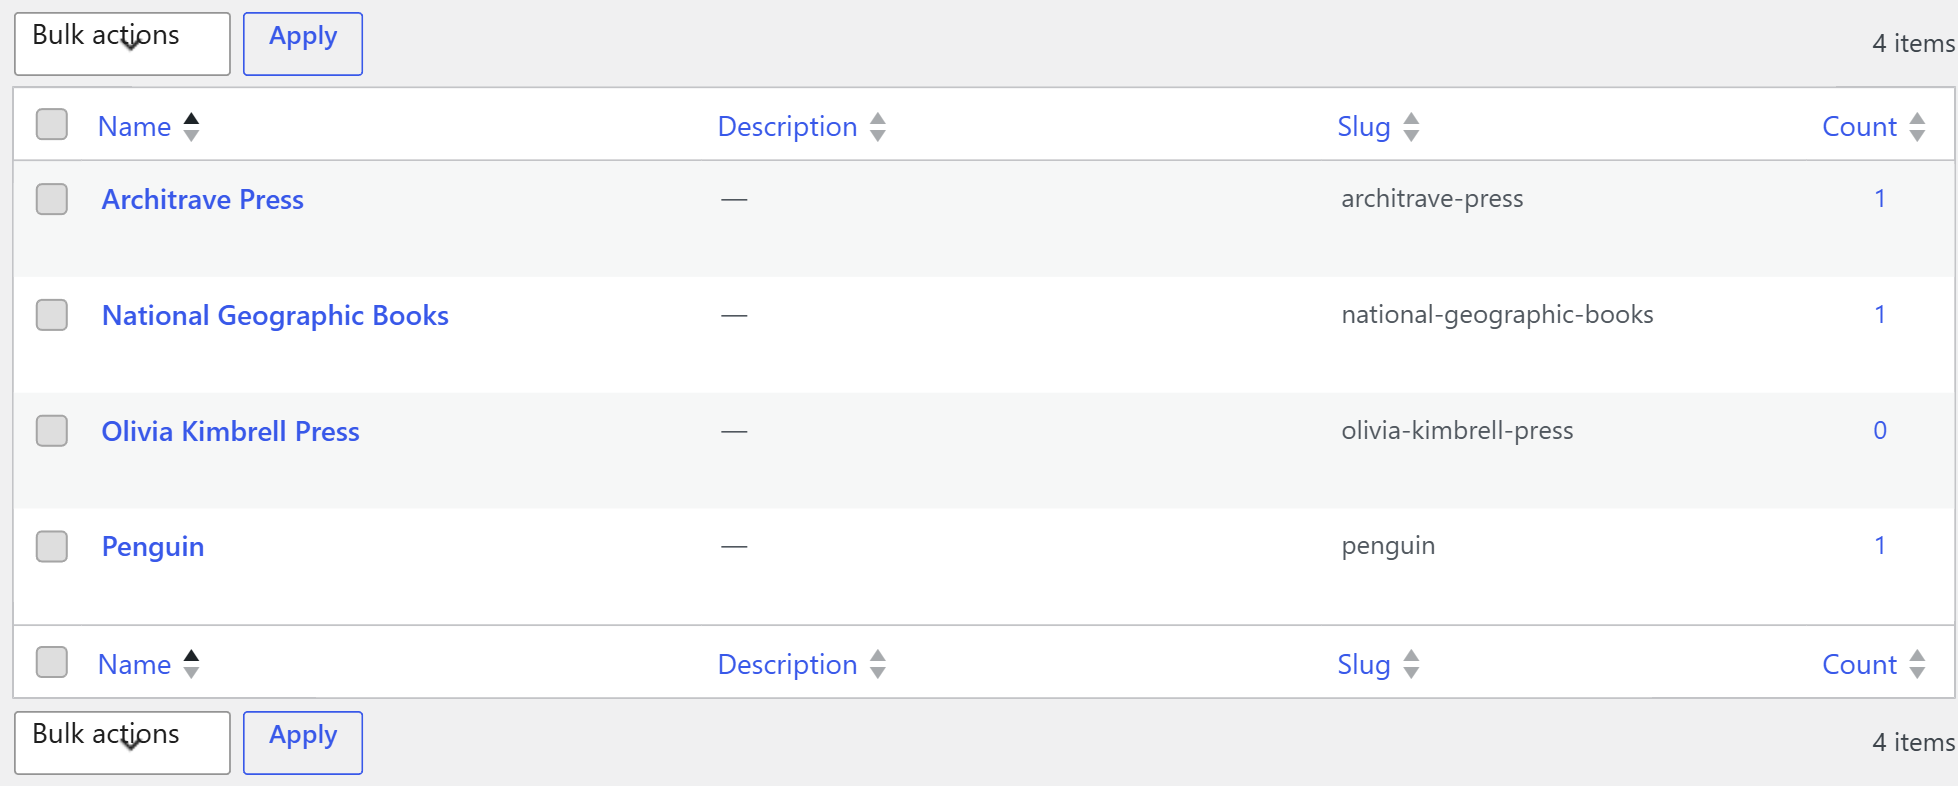
Before assigning a publisher to any book, create the publisher terms that appear in the dropdown.
- Go to My Book Showroom → Publishers in the WordPress left sidebar
- Type the publisher name in the Name field under Add New Publisher
- Click Add New Publisher
Step 5 — Create Imprint terms
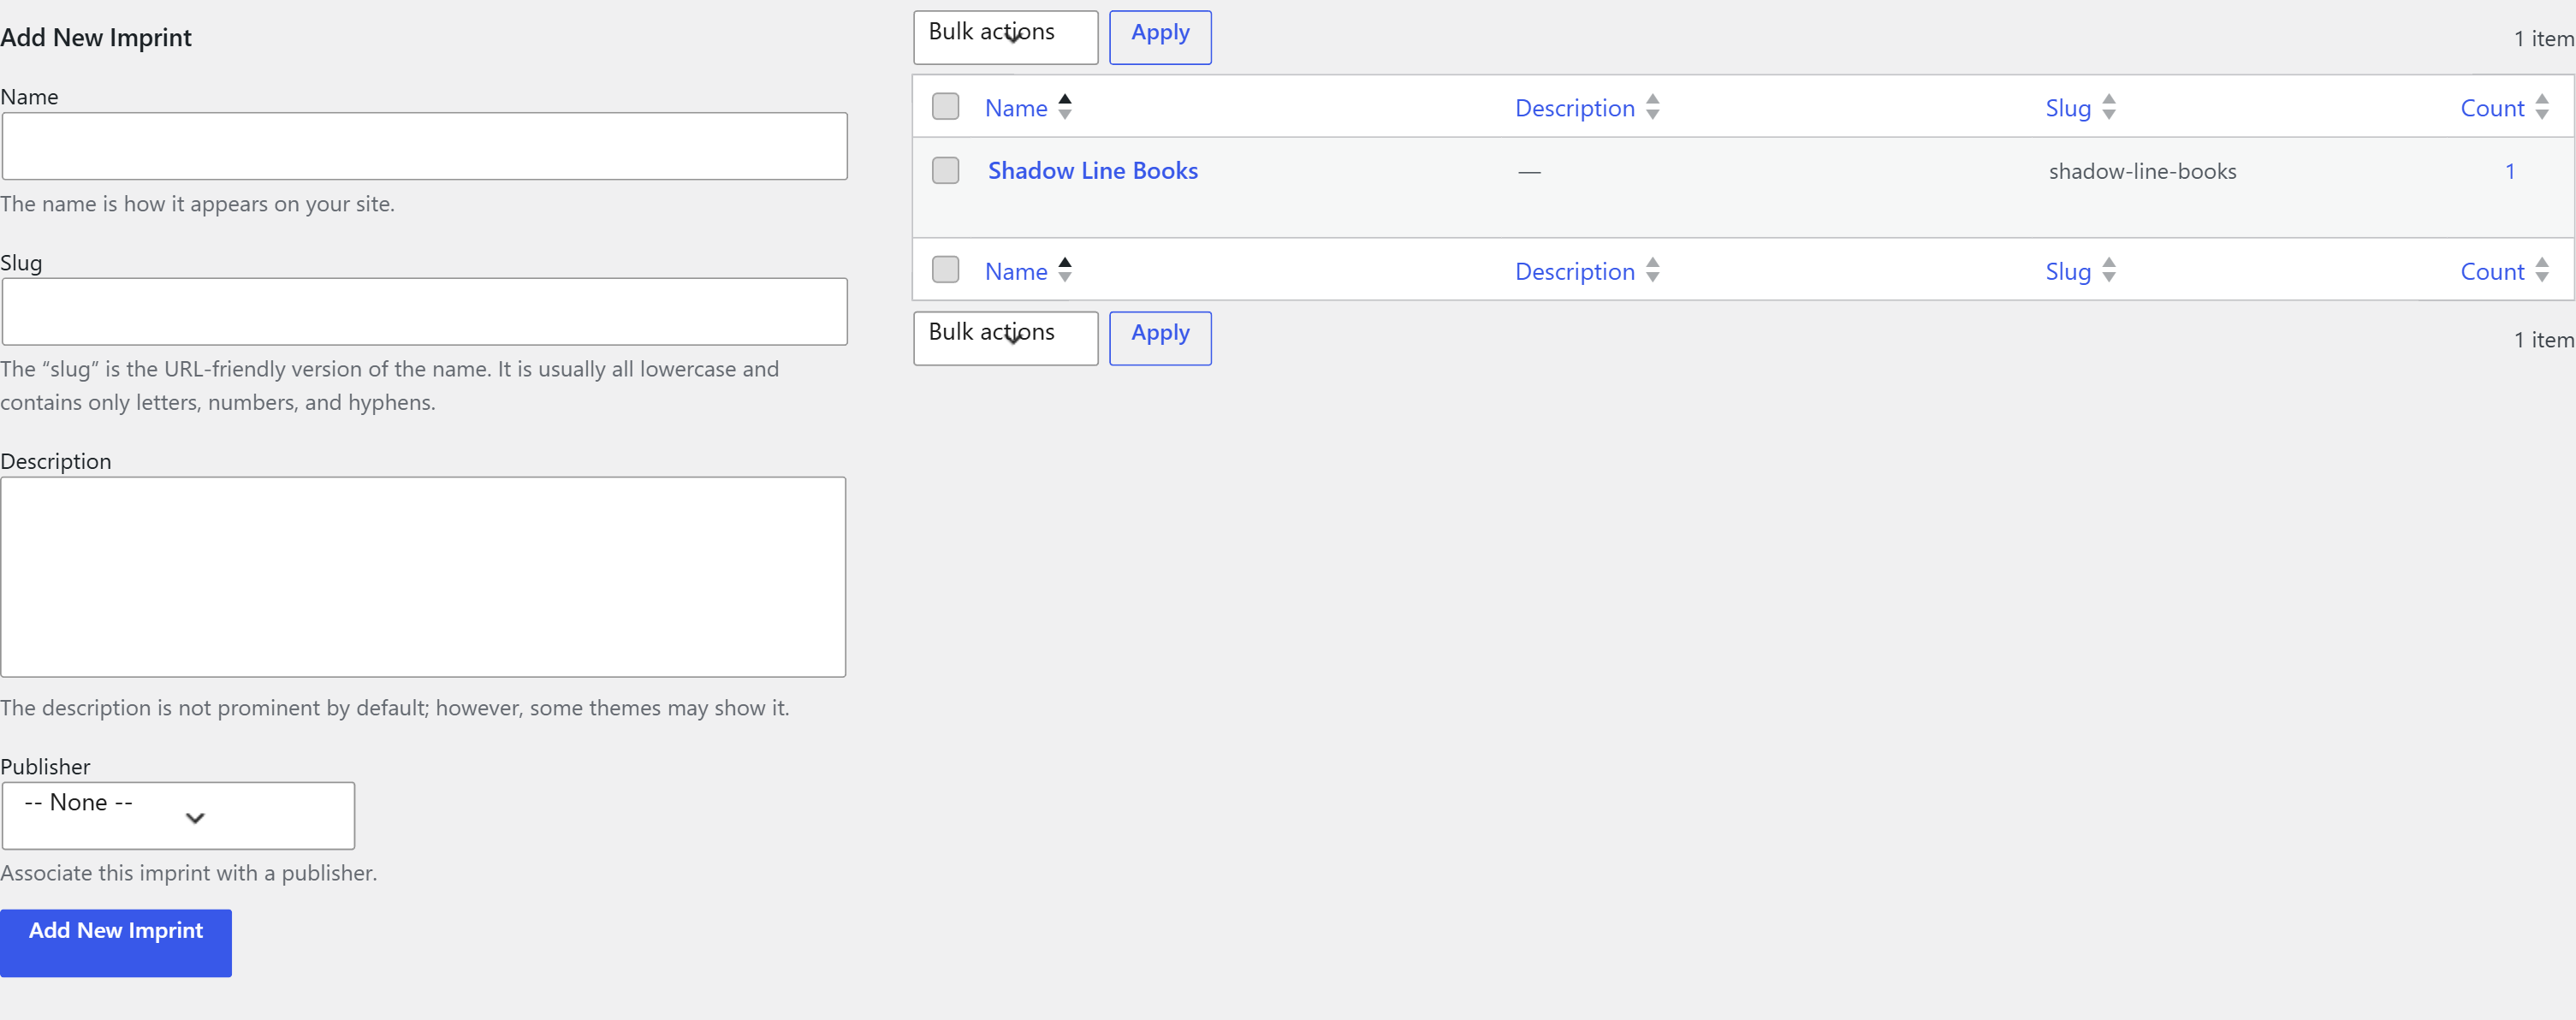
Imprints are optional sub-brands under a publisher. Each imprint can be linked to a publisher so the two stay associated in your catalog and in ONIX output.
- Go to My Book Showroom → Imprints in the WordPress left sidebar
- Type the imprint name in the Name field under Add New Imprint
- In the Publisher field, select the publisher it belongs to
(help text: "Associate this imprint with a publisher.")
- Click Add New Imprint
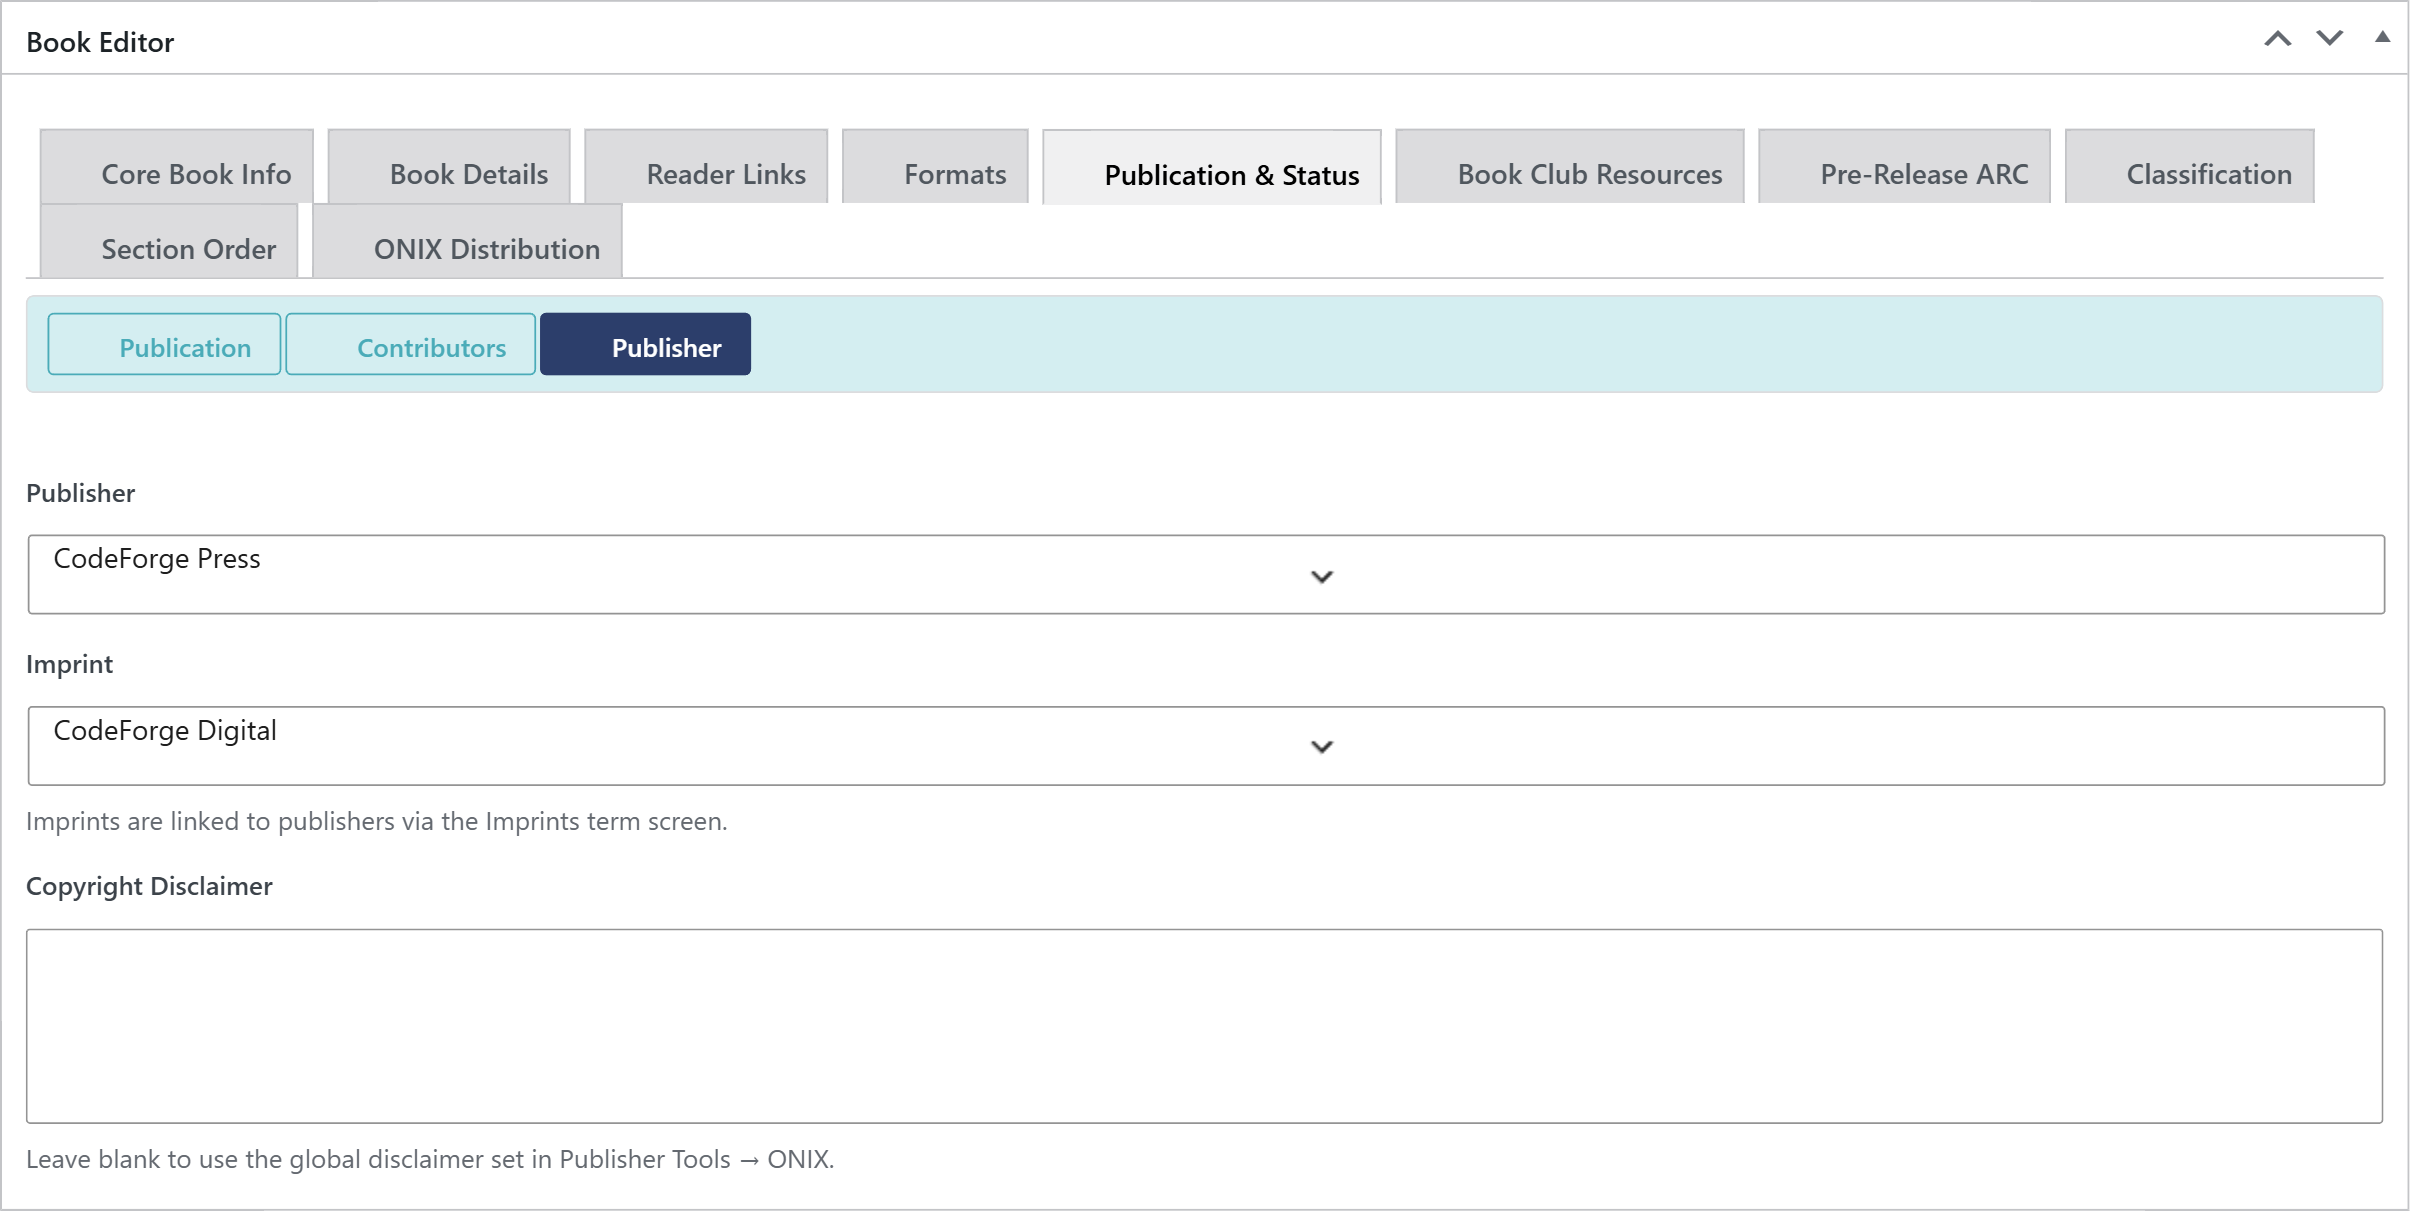
Step 6 — Assign Publisher and Imprint on a book
Open any book in the editor. Scroll to the Publisher & Imprint metabox (below the main Book Editor metabox).
- Publisher — choose one publisher from the dropdown
- Imprint — choose one imprint from the dropdown. The dropdown lists
every imprint you have created; pick the one that belongs to the publisher you selected above
Click Update (or Publish) to save.
Step 7 — Activate on additional sites (multi-site)
Your Publisher license supports up to 3 WordPress site activations. To activate on a second or third site, repeat Steps 1–2 on each site using the same license key. The dmrstech.com API tracks the activation count and will block a fourth activation attempt.
If you need to move your license from one site to another, deactivate it on the old site first: go to My Book Showroom → Settings → License on the old site and click Deactivate. After deactivation completes, the slot is freed and you can activate on the new site.