Genres and tags are how readers find books like the one they just finished. My Book Showroom gives you two free, reader-facing vocabularies — Genre for broad marketing categories (Romance, Fantasy, Mystery) and Tags for free-form labels (recurring characters, settings, tropes). You assign them from the Discovery area of the book editor, and the plugin automatically builds archive pages, a genre cloud, and term lists so readers can browse by either one.
What you will need
- My Book Showroom installed and activated, with a registered free key
- At least one book to categorize
- WordPress admin access
This guide covers the reader-facing Genre and Tag taxonomies. Series, collections, and universes — the structural groupings — are covered separately in the Series & Collections guide.
Step 1 — Create your genres and tags
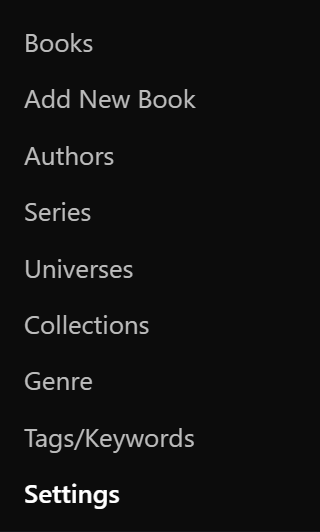
Before you can assign them, create some terms. In the WordPress admin go to My Book Showroom → Genres to add broad categories, and My Book Showroom → Tags to add free-form keywords. Genres are hierarchical, so you can nest a subgenre under a parent; tags are flat and comma-separated.
Keep genres few and broad — they are your shelf signs. Use tags liberally for the specific details readers search by, such as "enemies to lovers" or "small-town setting."
Step 2 — Open the Discovery tab
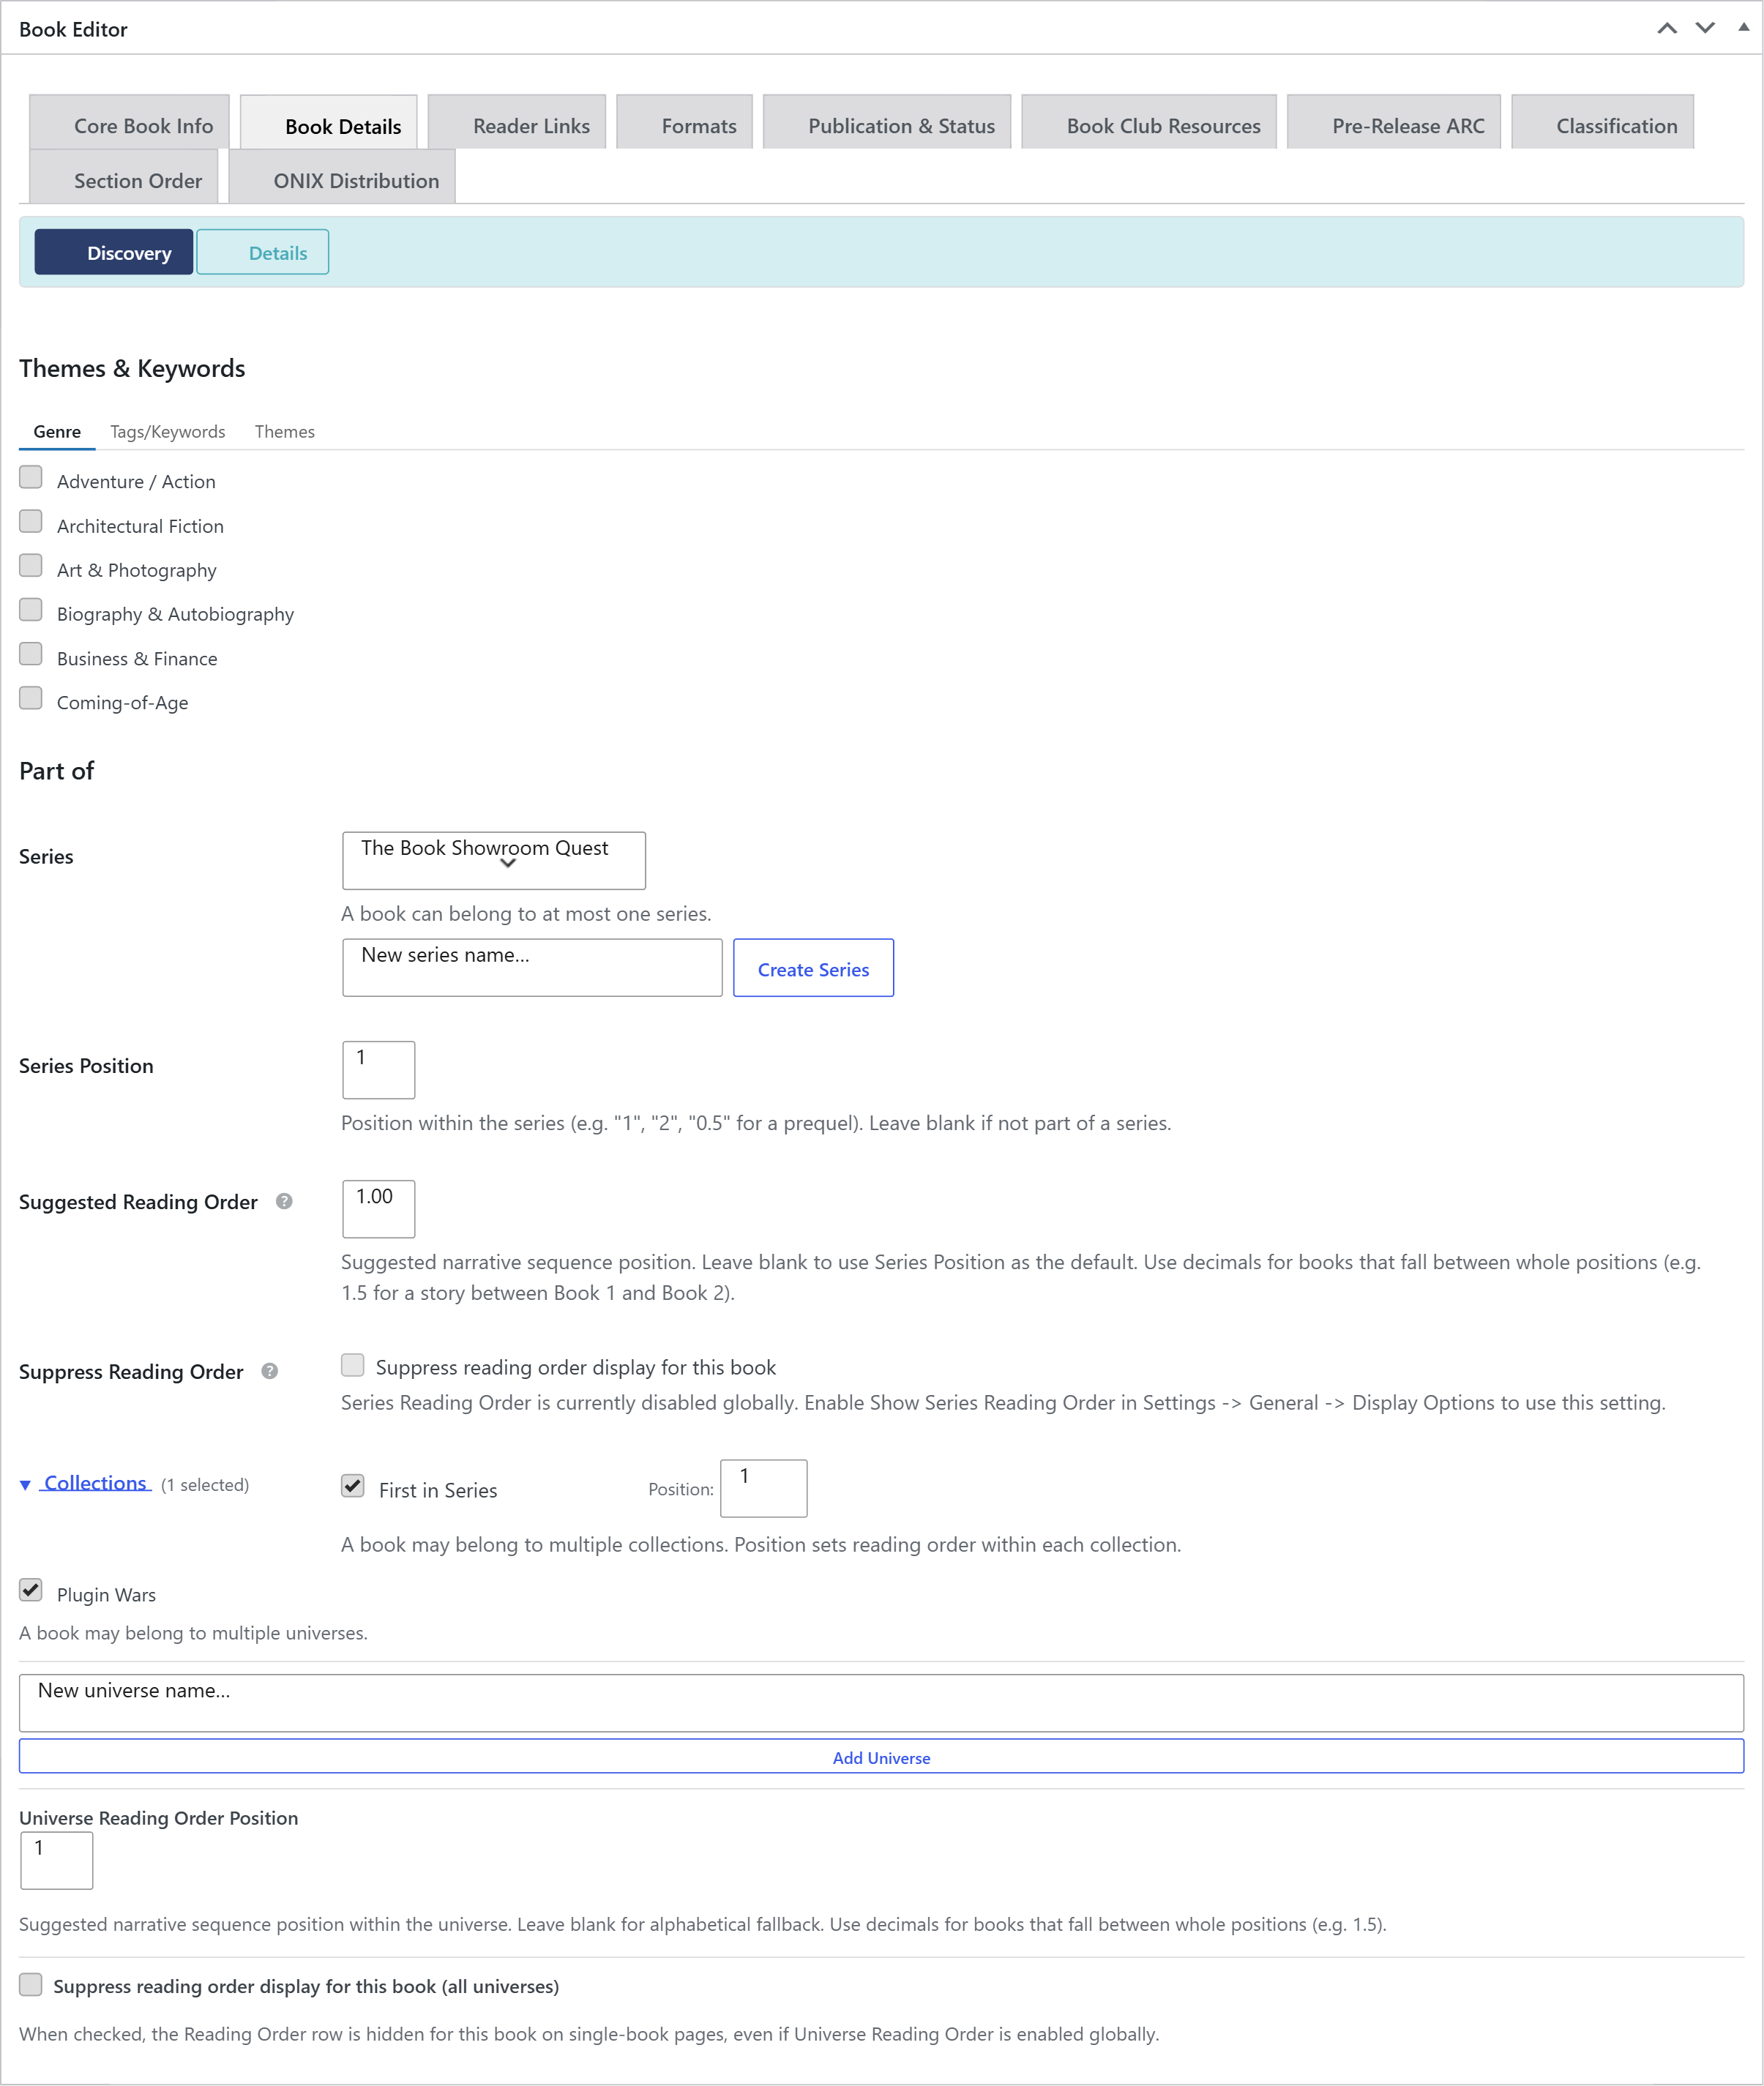
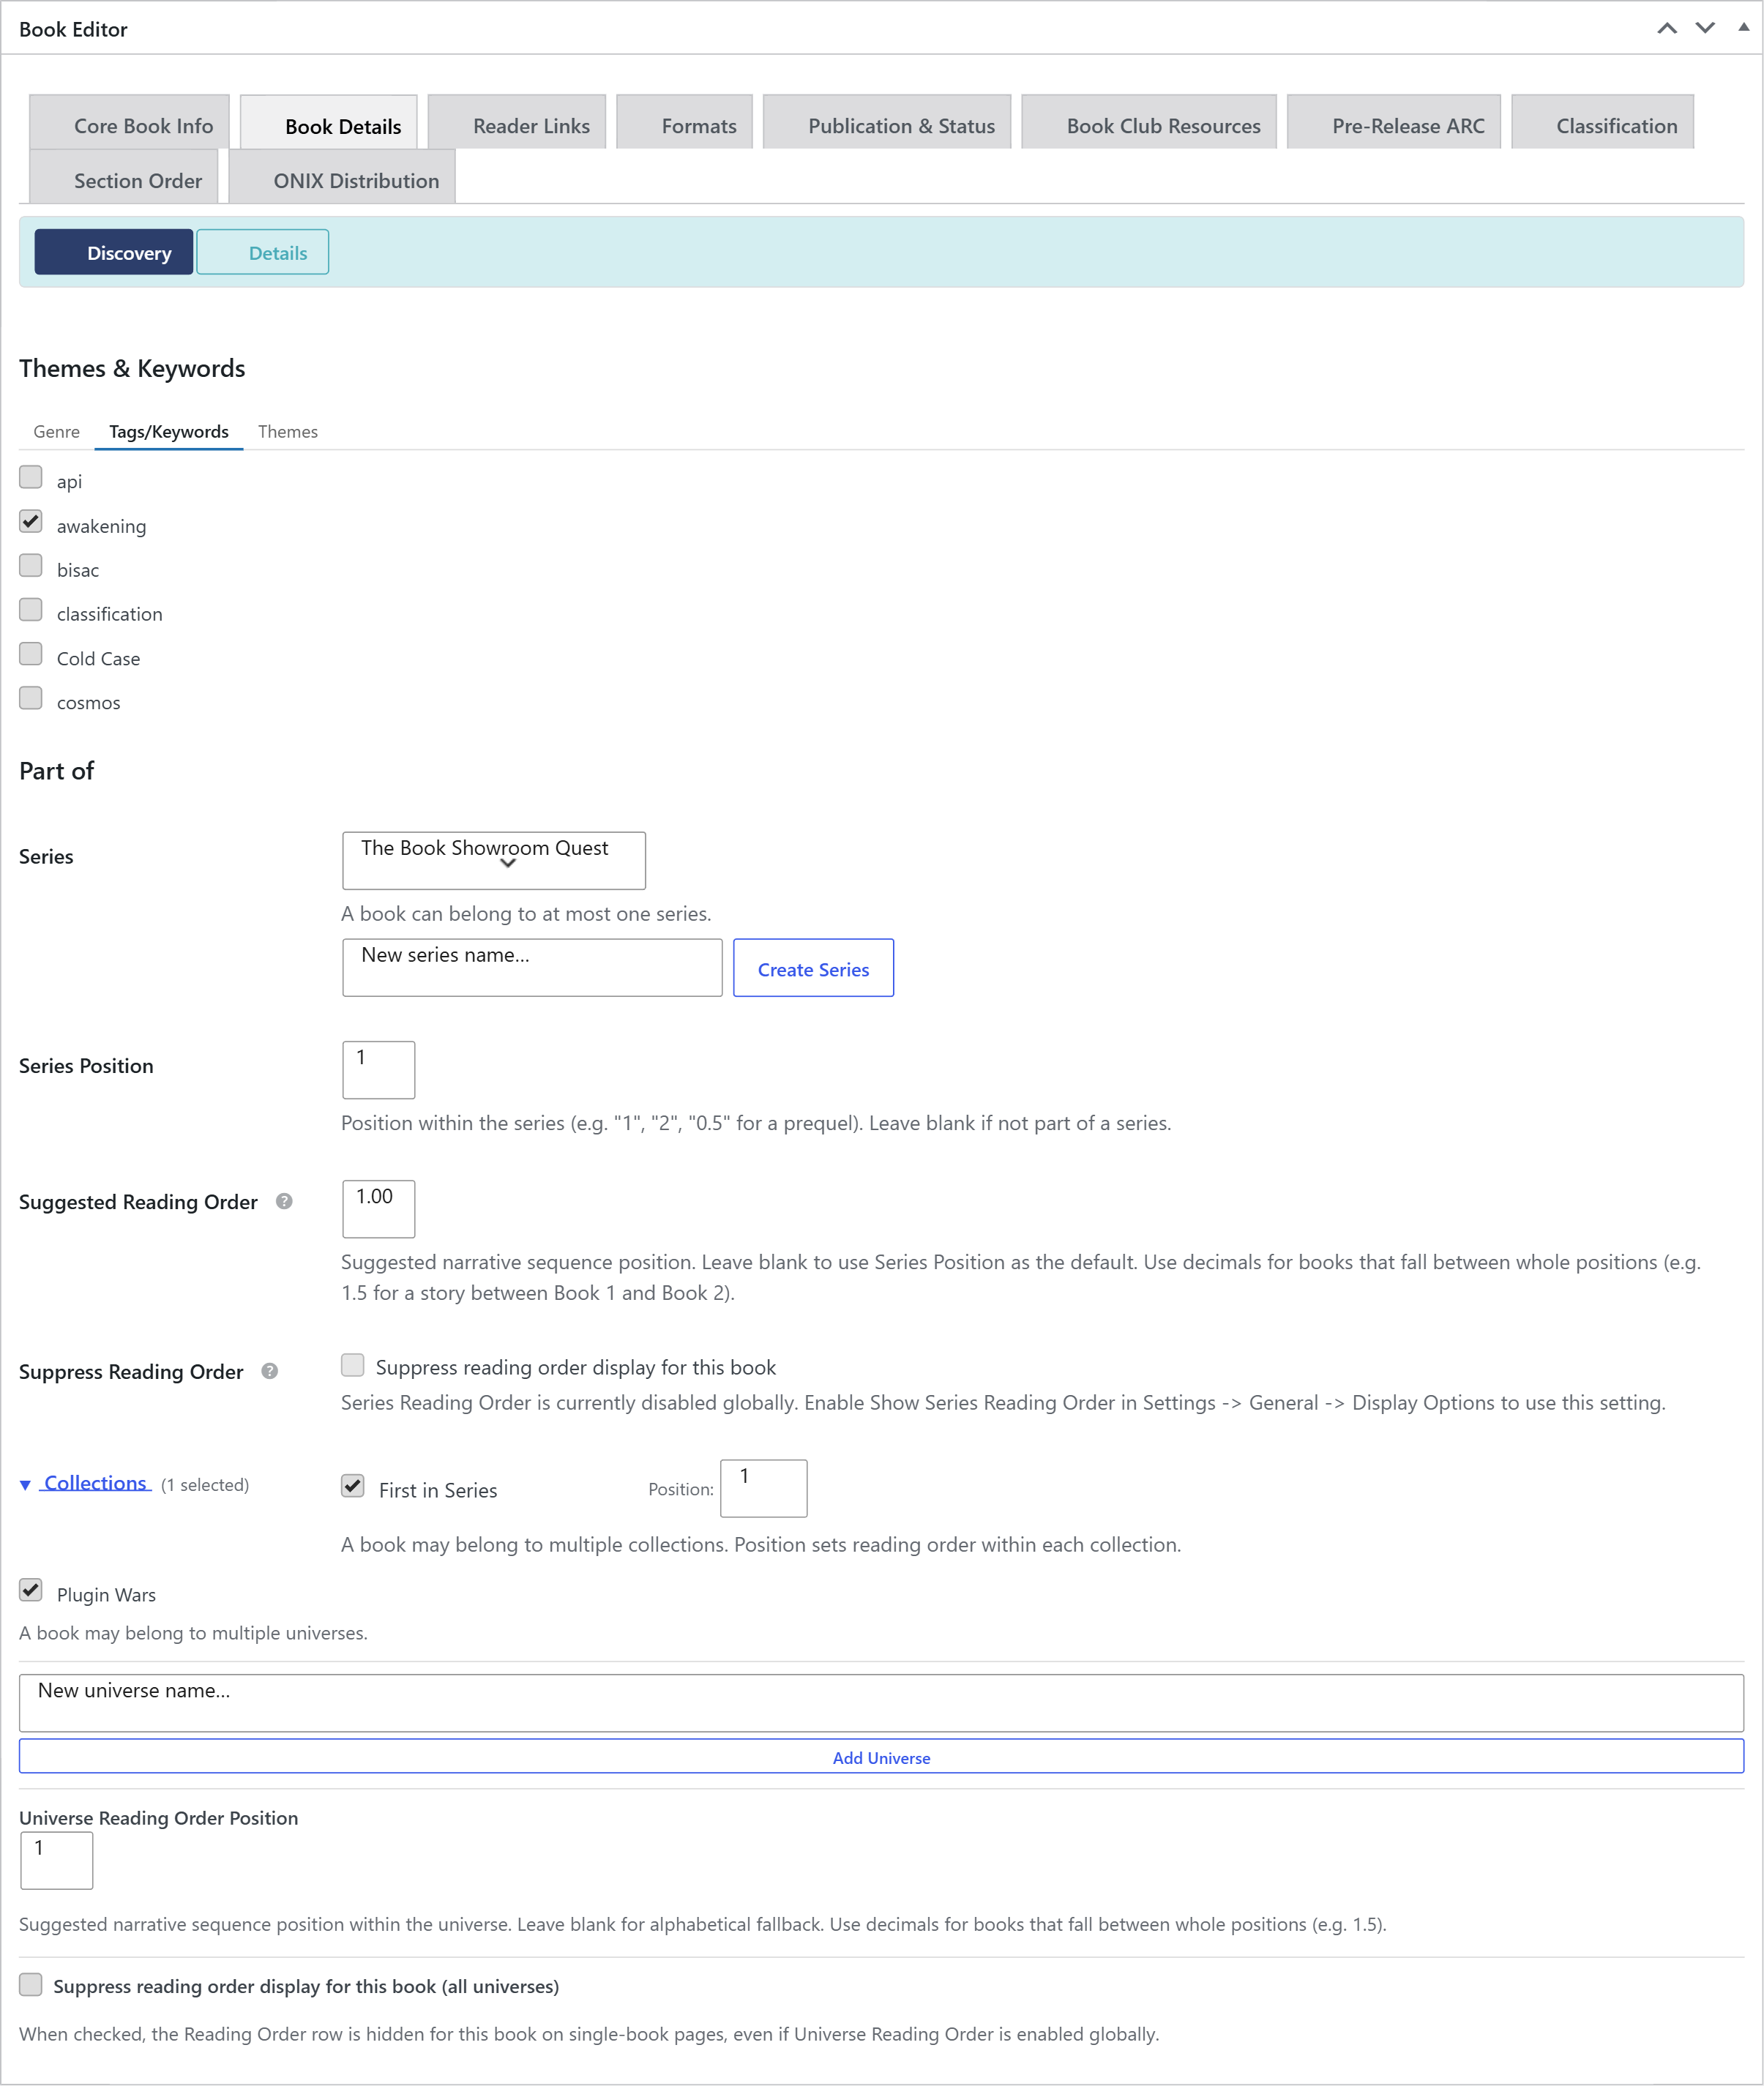
Edit a book and select the Book Details tab, then the Discovery sub-section. Discovery is organized into two groups: Themes & Keywords (Genre, Tags, Themes) and Part of (Series, Collections, Universes).
Step 3 — Assign genres
In the Themes & Keywords group, open the Genre tab. Check every genre that applies to the book. Because genres are hierarchical, you can assign both a parent and a child (for example, Fiction and Historical Fiction).
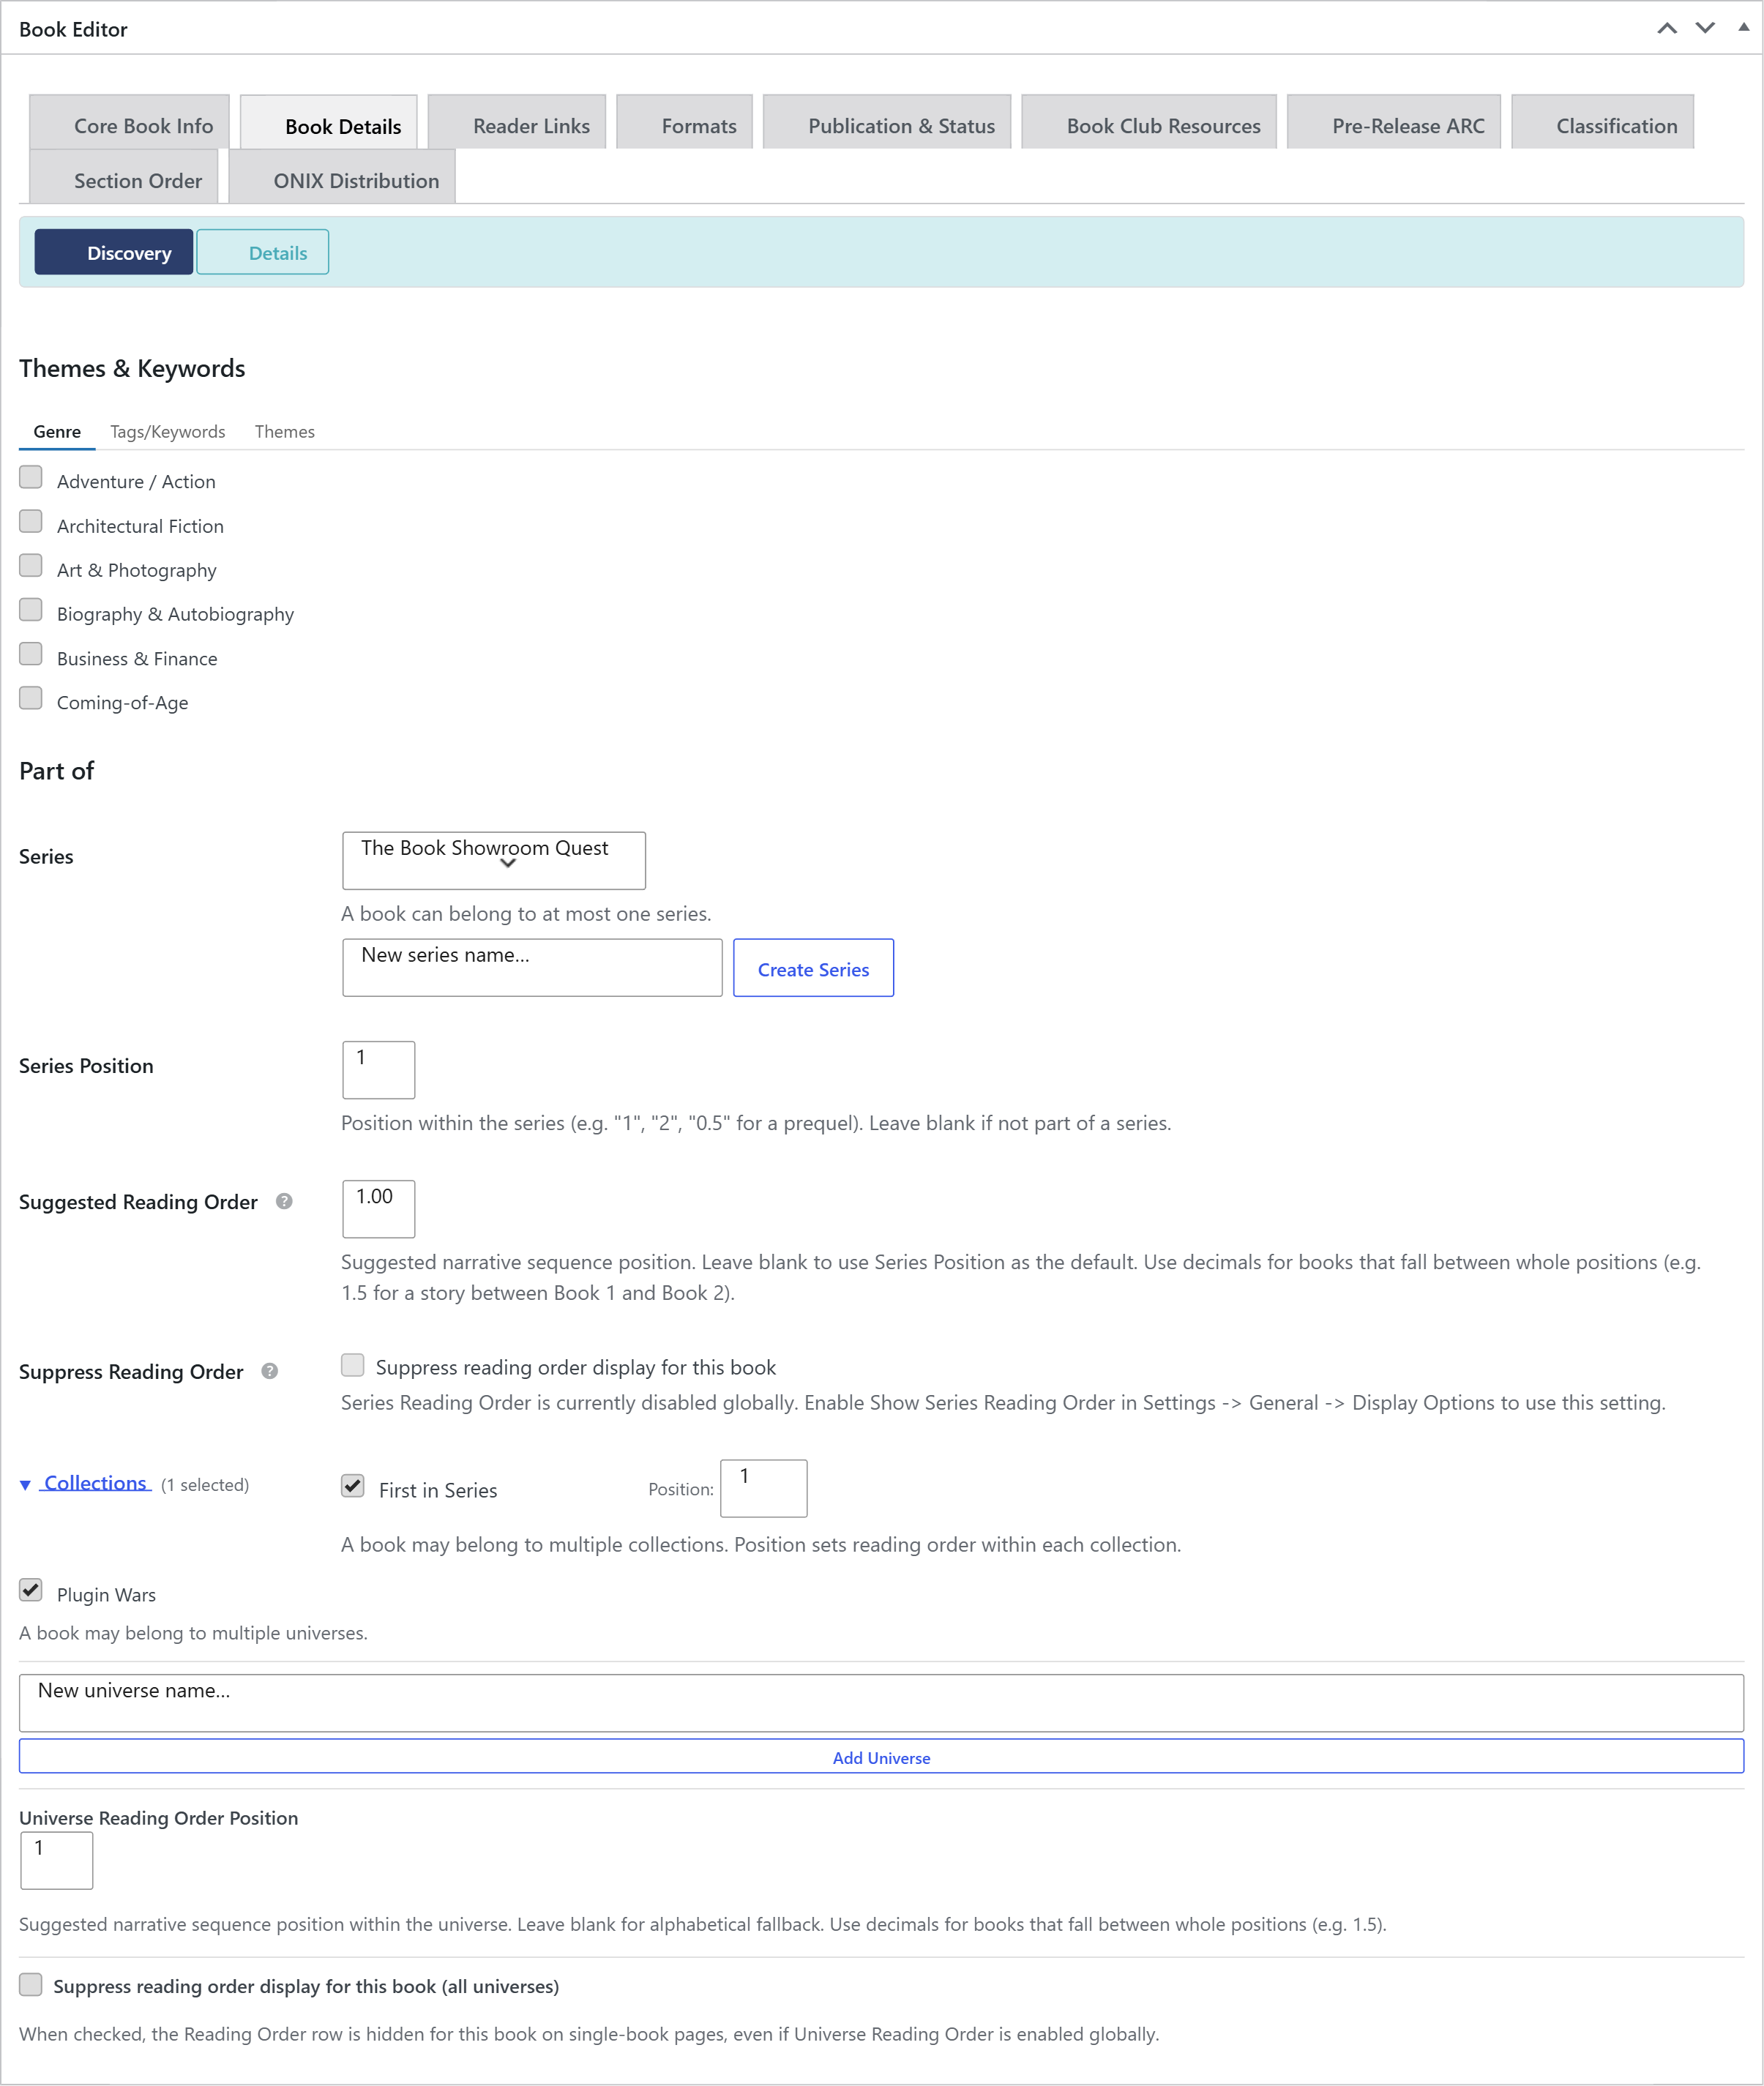
If the list is empty, you have not created any genres yet. The panel links you straight to Books → Genres to add them.
Step 4 — Assign tags
Switch to the Tags/Keywords tab in the same group and select the tags that fit the book. Tags are free-form, so this is where you record tropes, recurring characters, settings, and any other specific detail a reader might search for. Save the book to store both genre and tag assignments.
Step 5 — How taxonomy archive pages work
Every genre and every tag gets its own automatic archive page. When a reader clicks a genre or tag link anywhere on your site, My Book Showroom renders an archive listing all books in that term, using your chosen catalog layout. Genre archives live under a URL based on the term, and tag archives live under the book-tag path.
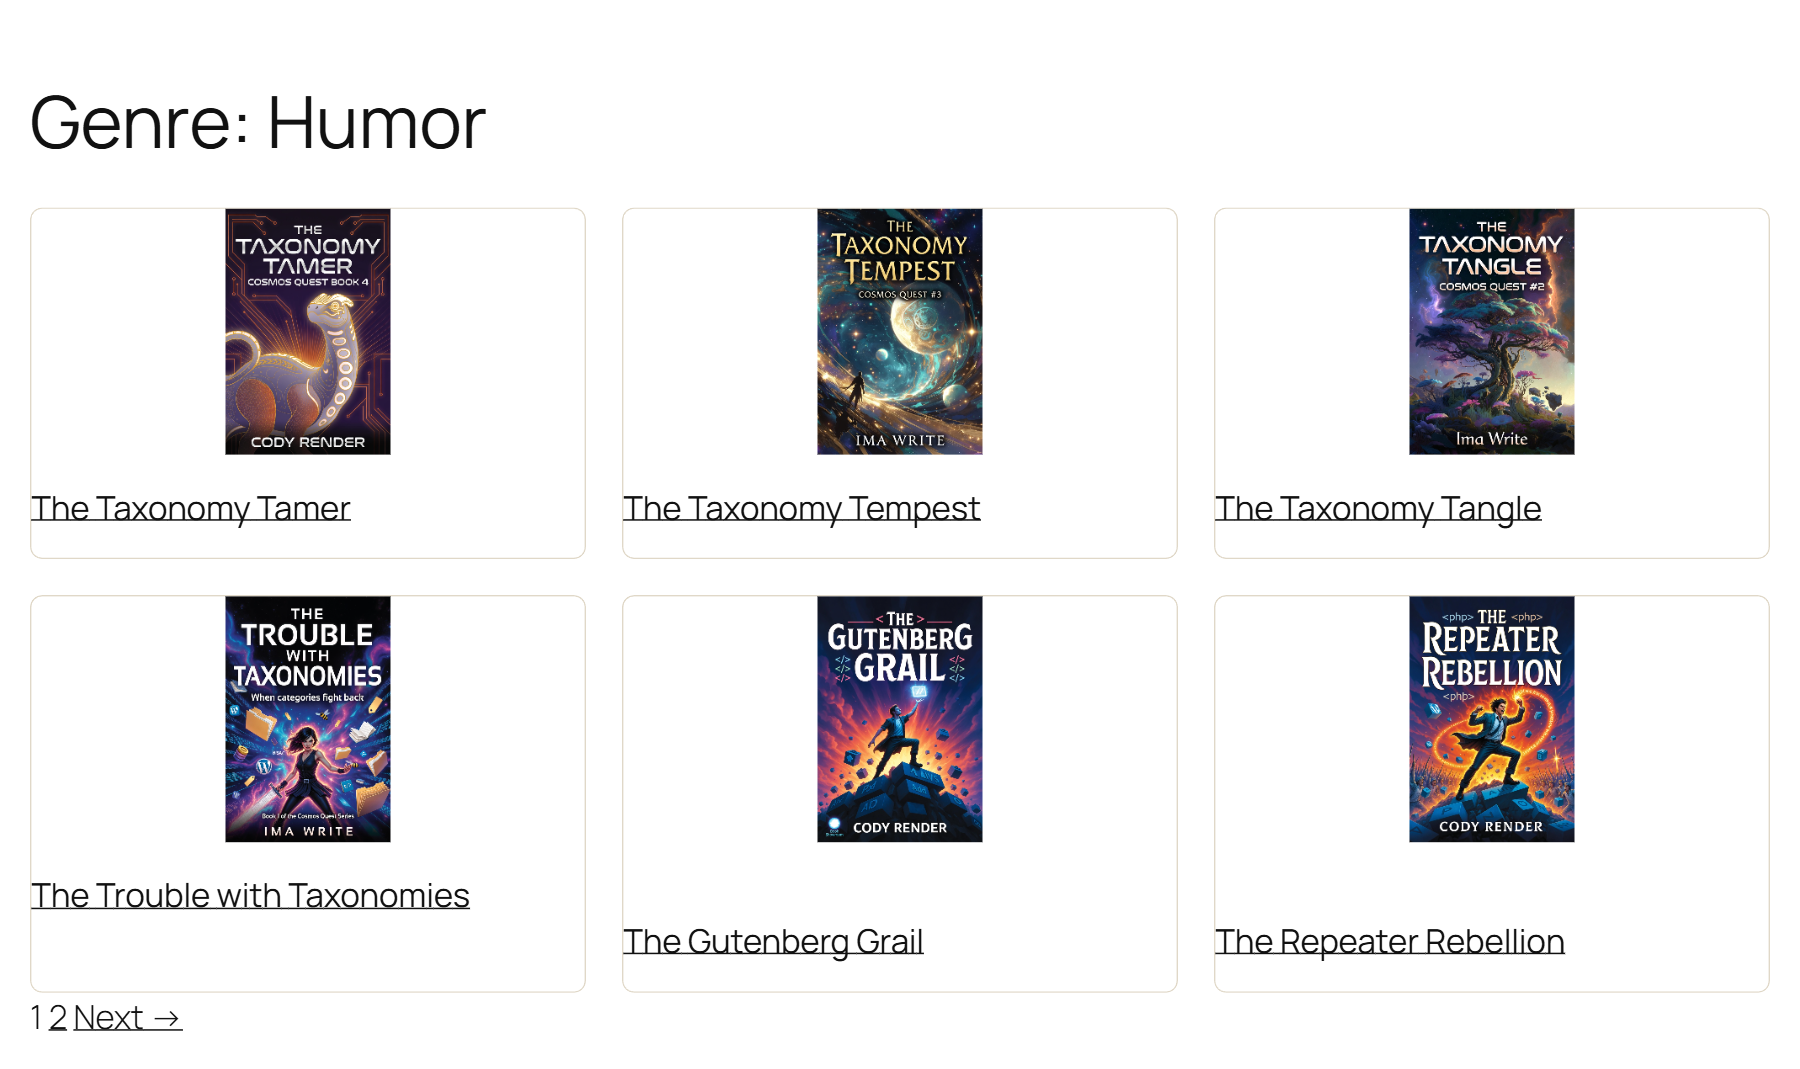
Archive pages require a registered license to render. If you see a "requires a registered license" message, register your free key first.
Step 6 — Add a Genre Cloud
The Genre Cloud block shows your genres as a weighted cloud — the more books in a genre, the larger its label. Insert it on any page from the My Book Showroom category in the block inserter. In the sidebar you can set a minimum book count, the maximum number of genres shown, and the smallest and largest font sizes.

Step 7 — Add a Term List
For a tidier, evenly sized list, use the Term List block. Point it at any taxonomy — genre or tag — set the number of columns, and optionally show the book count beside each term. Every entry links to that term's archive page, giving readers a clean browse-by index.

Step 8 — How readers browse
Once genres and tags are assigned and a cloud or term list is published, readers can browse your whole catalog by topic: they click a genre or tag, land on its archive page, and see every matching book in your chosen layout. Genre and tag links also appear on individual book pages, so a reader who enjoyed one title can follow the trail to similar ones.
Assign genres and tags consistently across your catalog and these discovery surfaces fill themselves in automatically — no manual index to maintain.